Remarkable Ink Big Blog Hop


Hello. Welcome to the Remarkable Big Blog Hop. Today, the theme is featuring  Lions, Bears and other animals. For this blog hop I’m featuring the Panda Bear. The stamp is FREE with a Stampin’ Up order of $50. Stampin’ Up says that the Panda Bear is the most popular stamp in the Sale-A- Bration catalog, and I agree. I LOVE it!                                                                                                                                                              
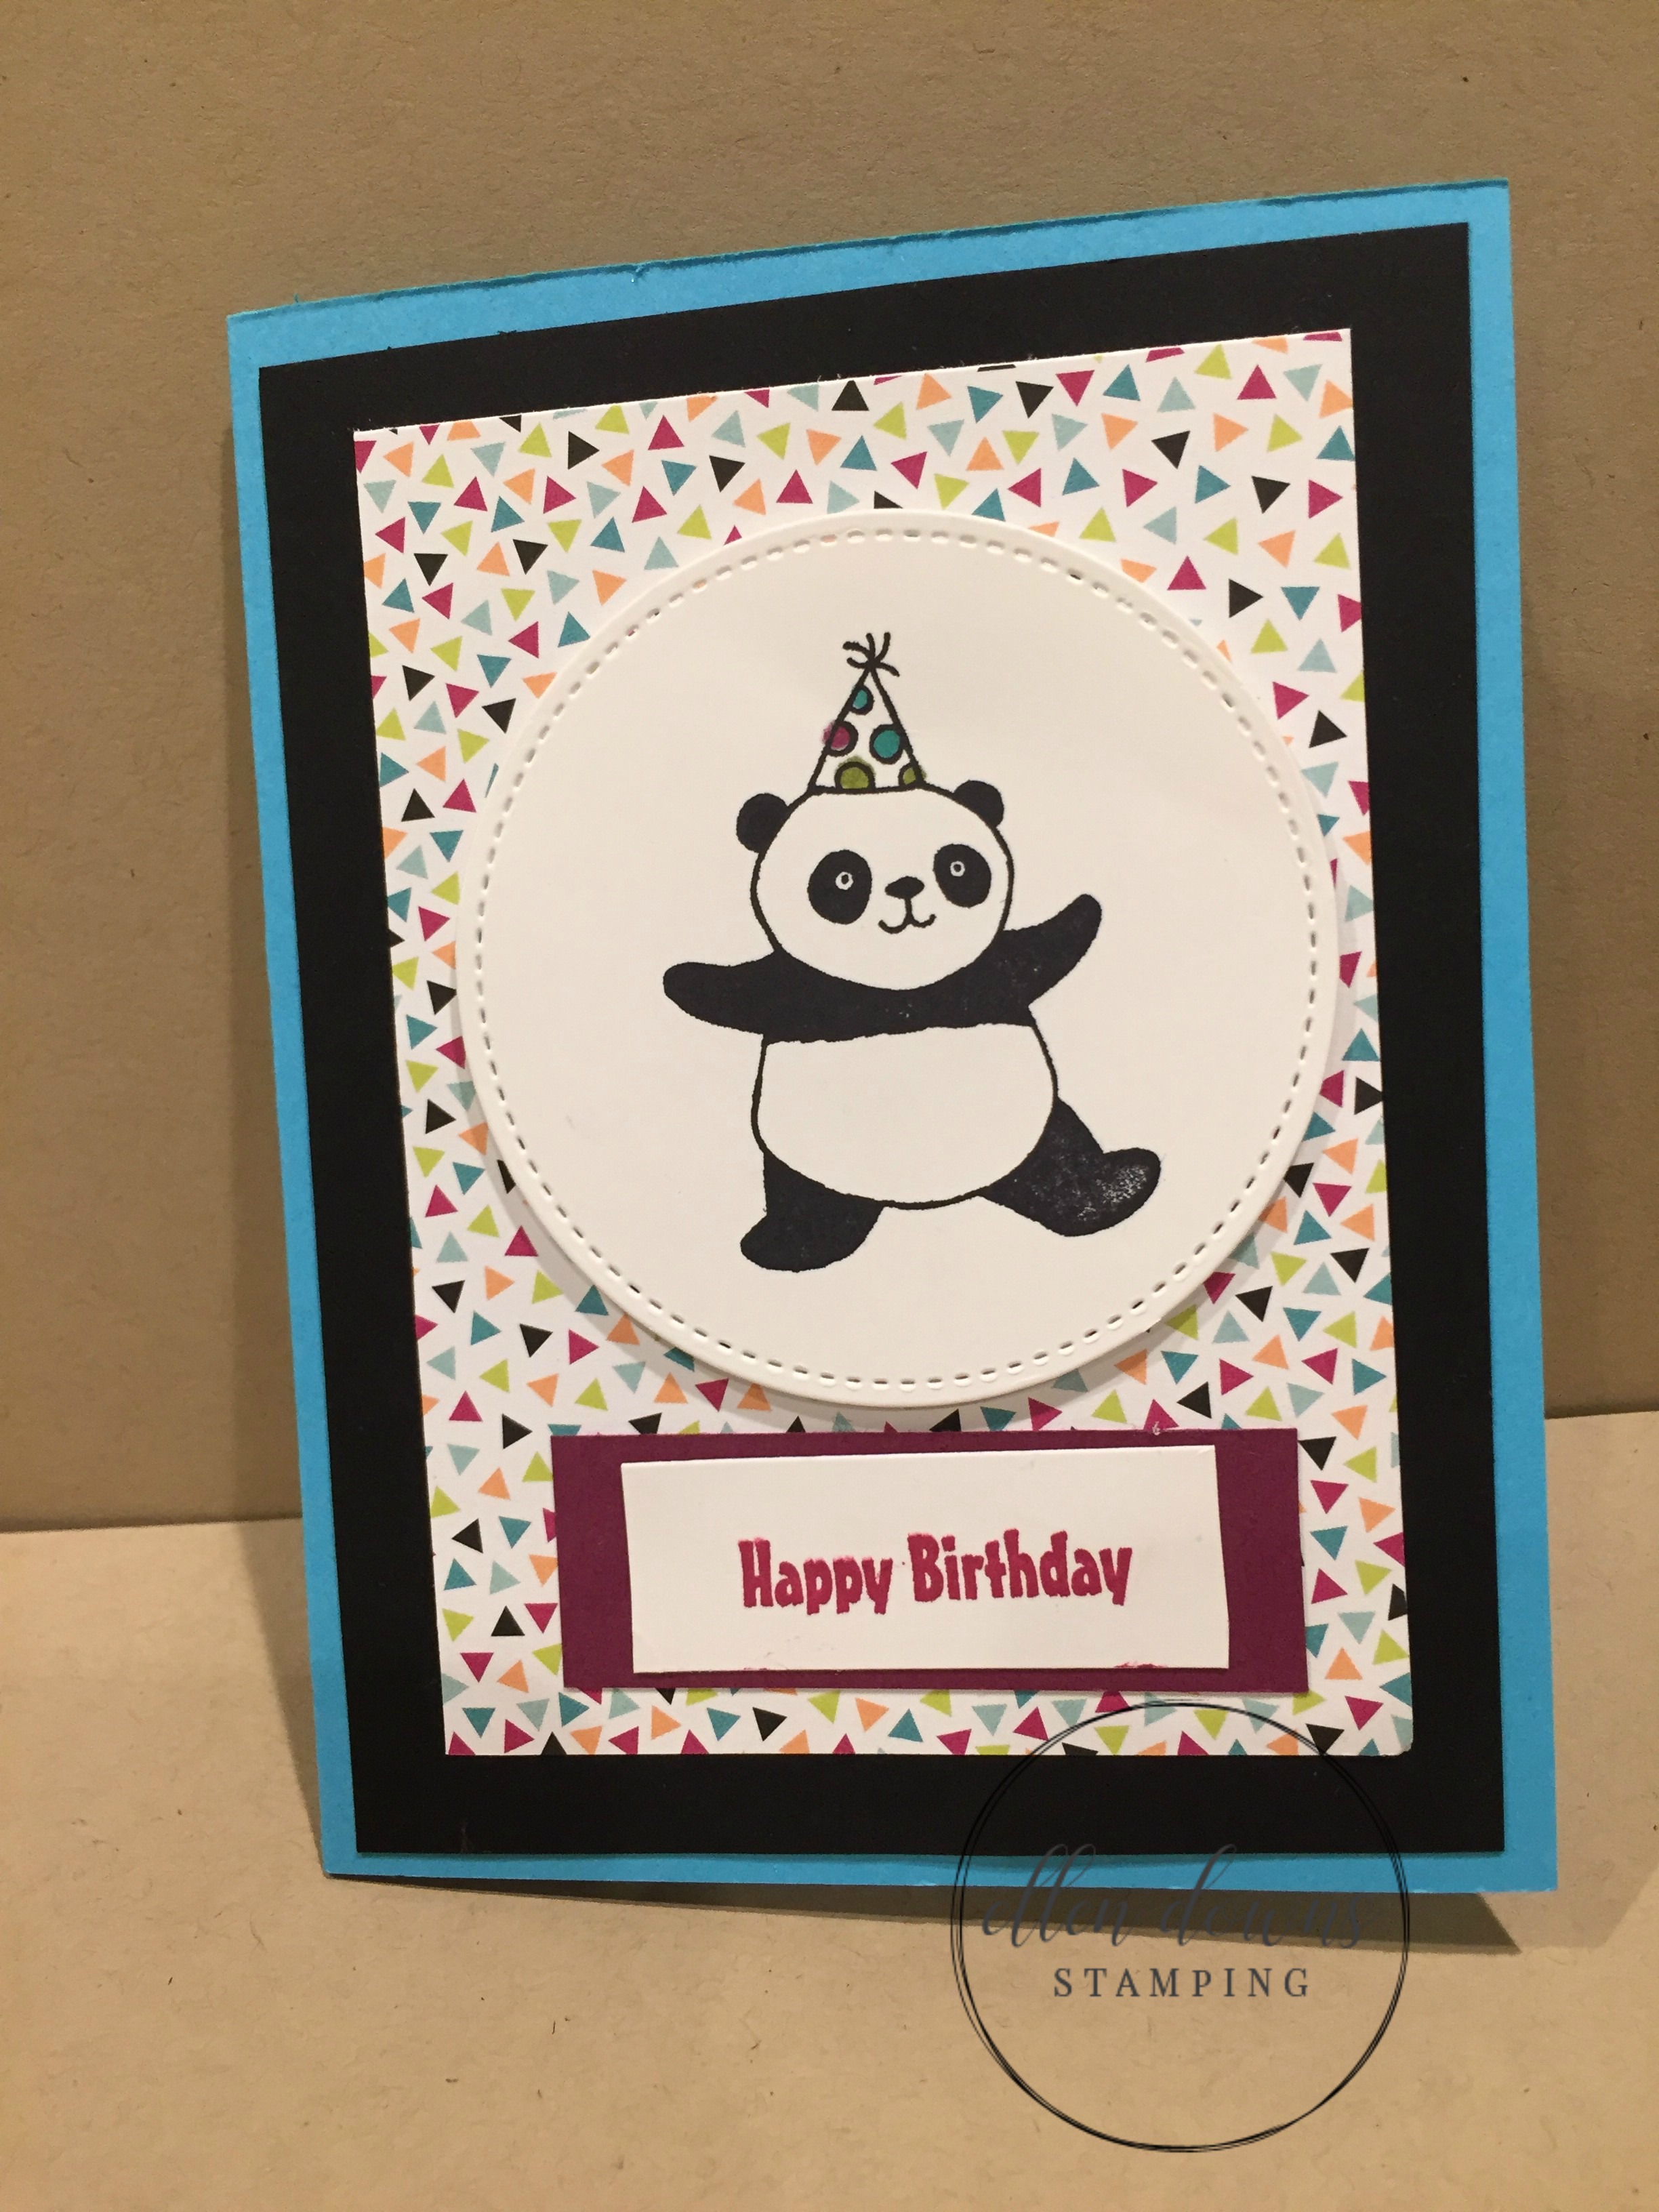


The base card  is Bermuda Bay card stock. This was cut at 8 1/2 ” x 5 1/2″ and folded in half . I cut the black card stock at 4″ x  51/4″.  Then I cut card stock from the Picture Perfect Party Designer Series Paper at 4 3/4″ x  3 3/4″. I cut the large circle from the Stitched Shapes framelits with my Big Shot. I stamped the Panda from the Party Panda stamp set on the Stitched Circle. I put the circle on the Picture Perfect DSP using Stampin! dimensionals. I cut tags for the sentiments; the larger tag was Berry Burst cut at 3/4″ by 2/1/2″. The smaller tag of Whisper White card stock was cut at 2″x 2 1/2″. I stamped the ‘Happy Birthday’ sentiment, from the Party Panda stamp pack, on the Whisper White tag using a Berry Burst ink pad. I pasted the small tag to the large tag and pasted the sentiment tags to the Picture Perfect DSP. I pasted all layers to the base card stock. Oh yes. I colored the dots on his party hat  with Stampin’ Up markers. I think it turned out very cute. But then, it’s pretty hard to mess up  a card using the Party Pandas.


The next card was made using the This Little Piggy stamp set. This stamp set was a favorite in the 2017-2018 annual catalog and is still available.
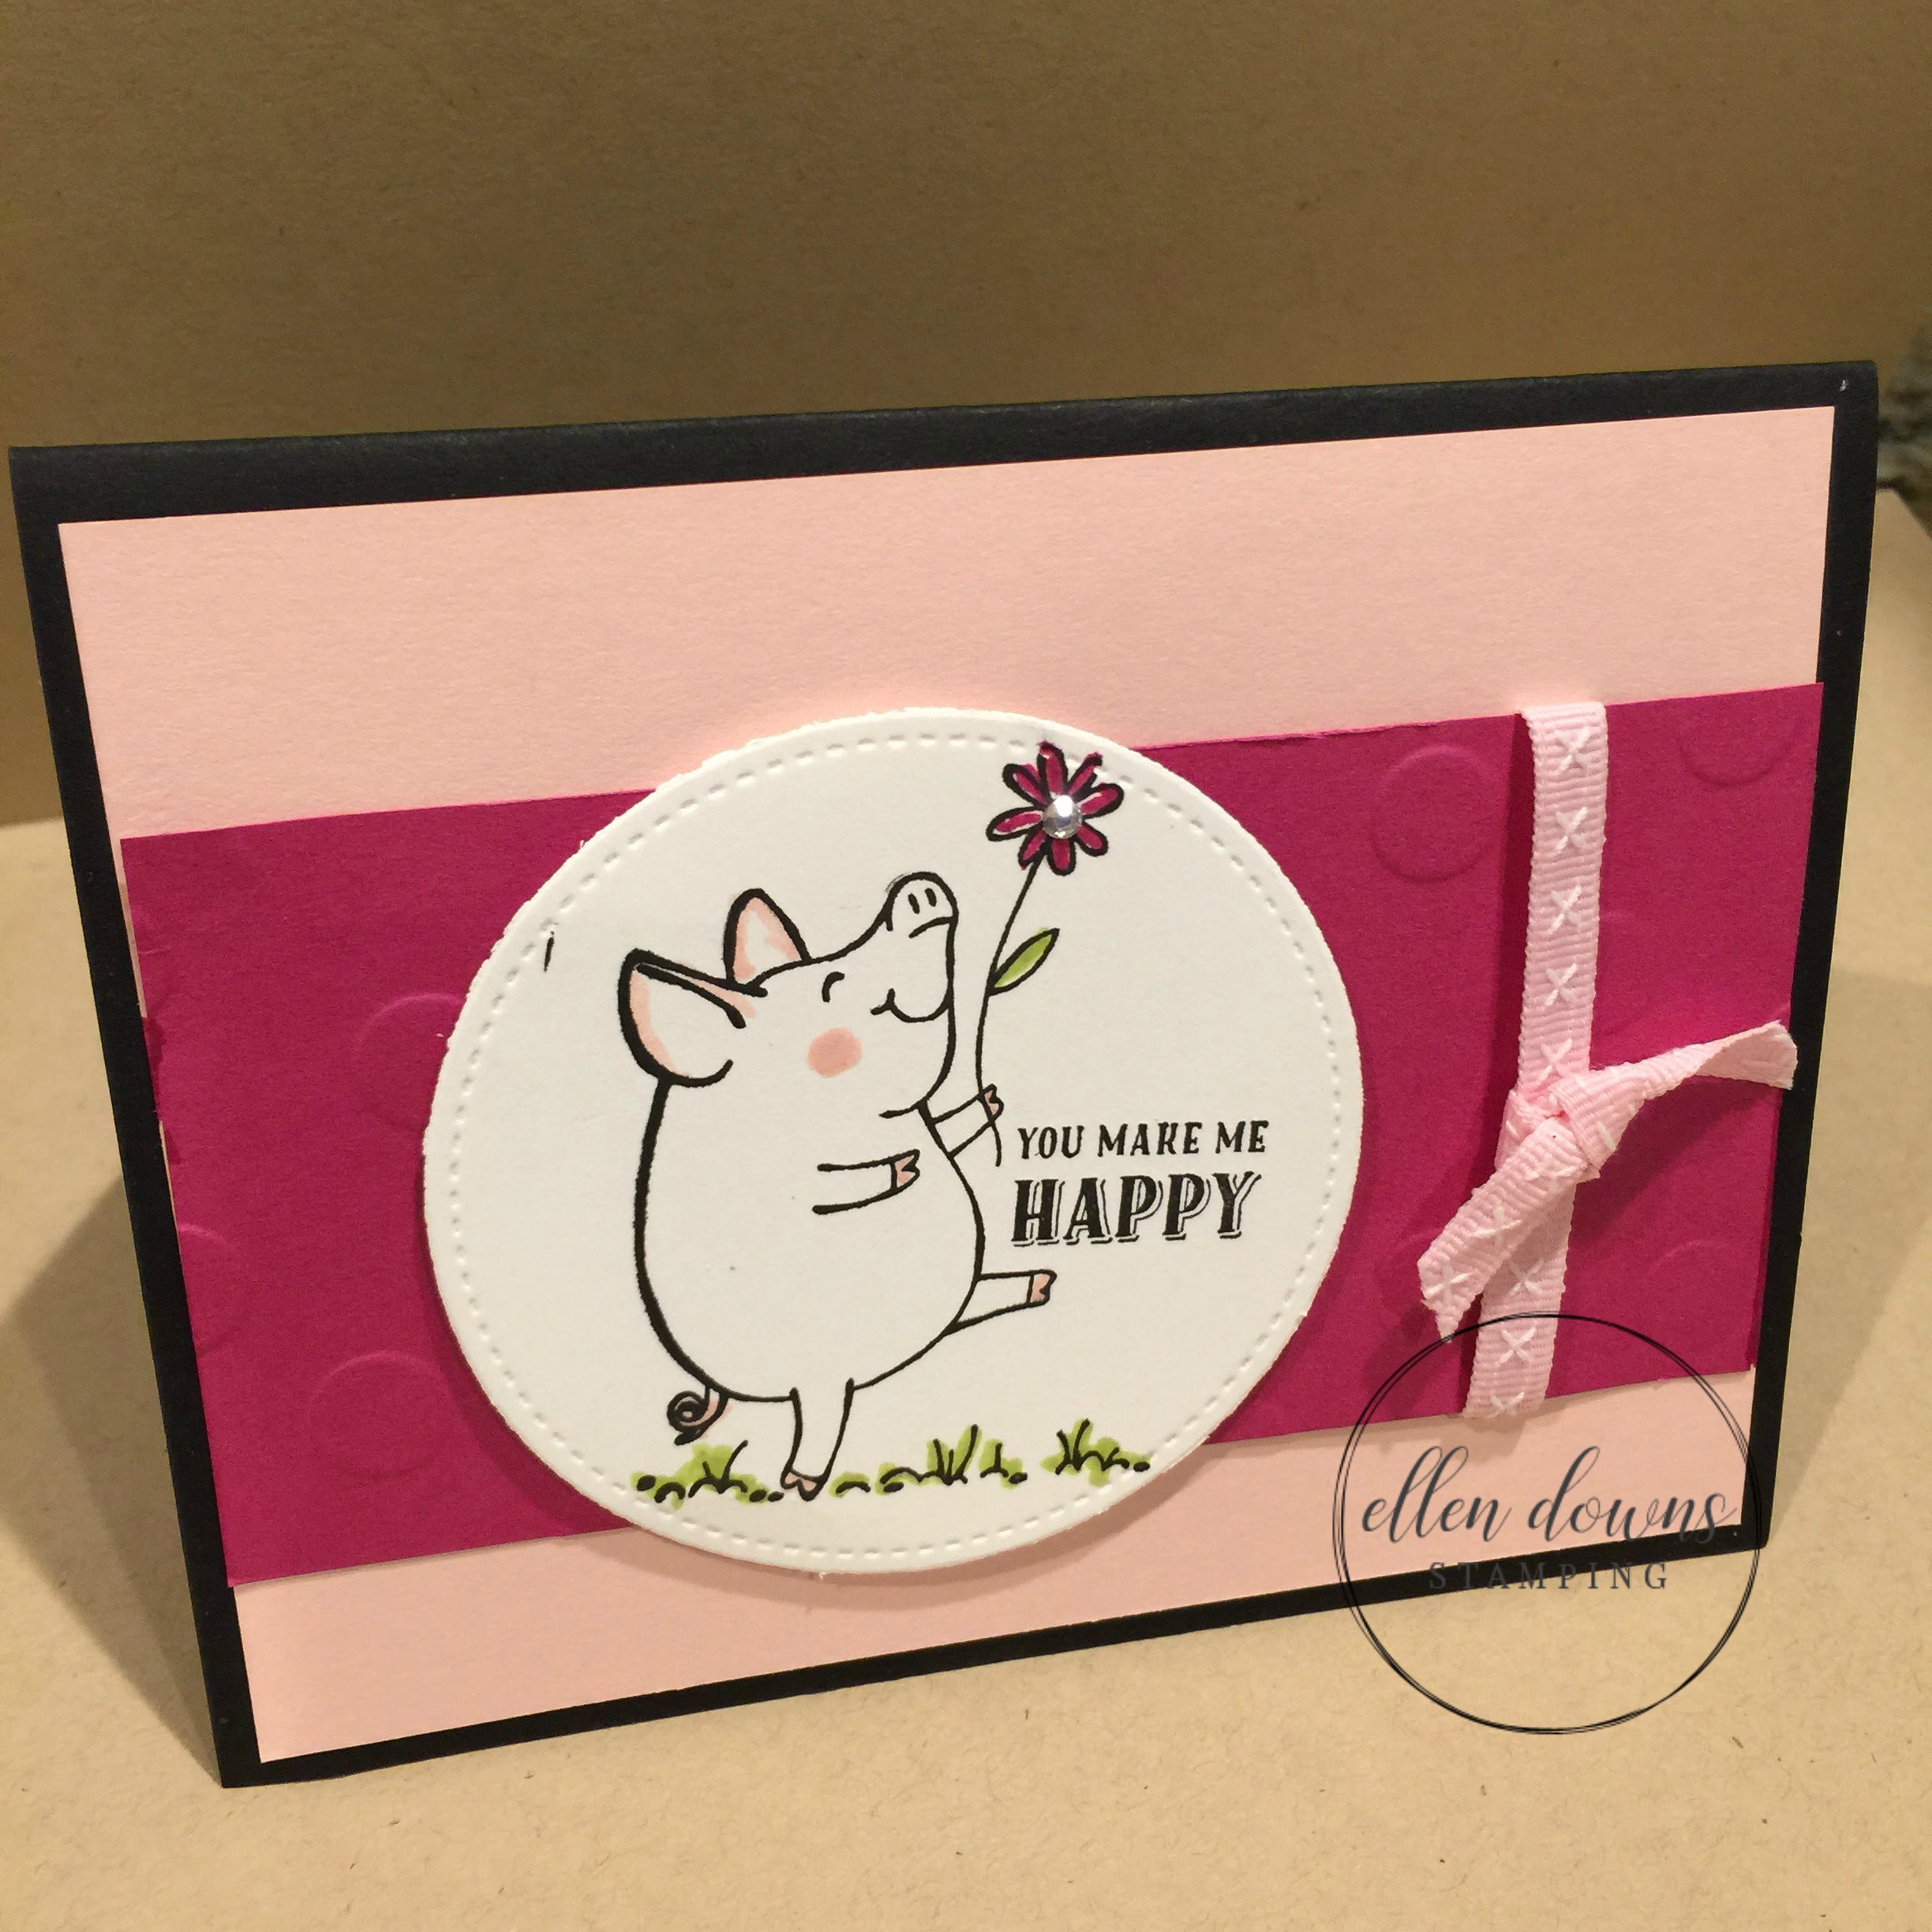
 

I stamped the ‘You Make me Happy’ piggy from the This Little Piggy stamp set on the large Stitched Shape framelit.  I colored the piggy with a Powder Pink and Lemon Lime Stampin’ Write marker. The base was cut using black card stock at 5 1/2″x 8 1/2″, folded at 4 1/4″. The Powder Pink card stock was cut at 4″ x 5 1/4″. The Berry Burst stock was embossed with the Polka Dot Basics Embossing Folder and cut at 5 1/4″ x  2″. Blushing Bride ribbon was wound around the Berry Burst card stock and taped to the back. A ribbon was tied to the front of the ribbon. I pasted the Berry Burst card stock to the Powder Pink card stock, which was pasted to the Black card base. The Stitched circle framelit was pasted to the Berry Burst card stock with Stampin’ Dimentionals.

That’s all for this blog. I hope you enjoyed my cards. I really loved making them. My name is Ellen Downs. The other bloggers are listed below.

Remarkably Created Blog Hop – Mix & Match


Ellen Downs – StampingwithEllen.com

Today we are having a  Remarkably Created Blog titled Mix & Match. That is Old versus New. No, that’s not right. It’s new versus newer. It’s mixing anything from the 2018 Spring Catalog and the 2017-201 Annual Catalog.


Ellen Downs-Stamping with Ellen

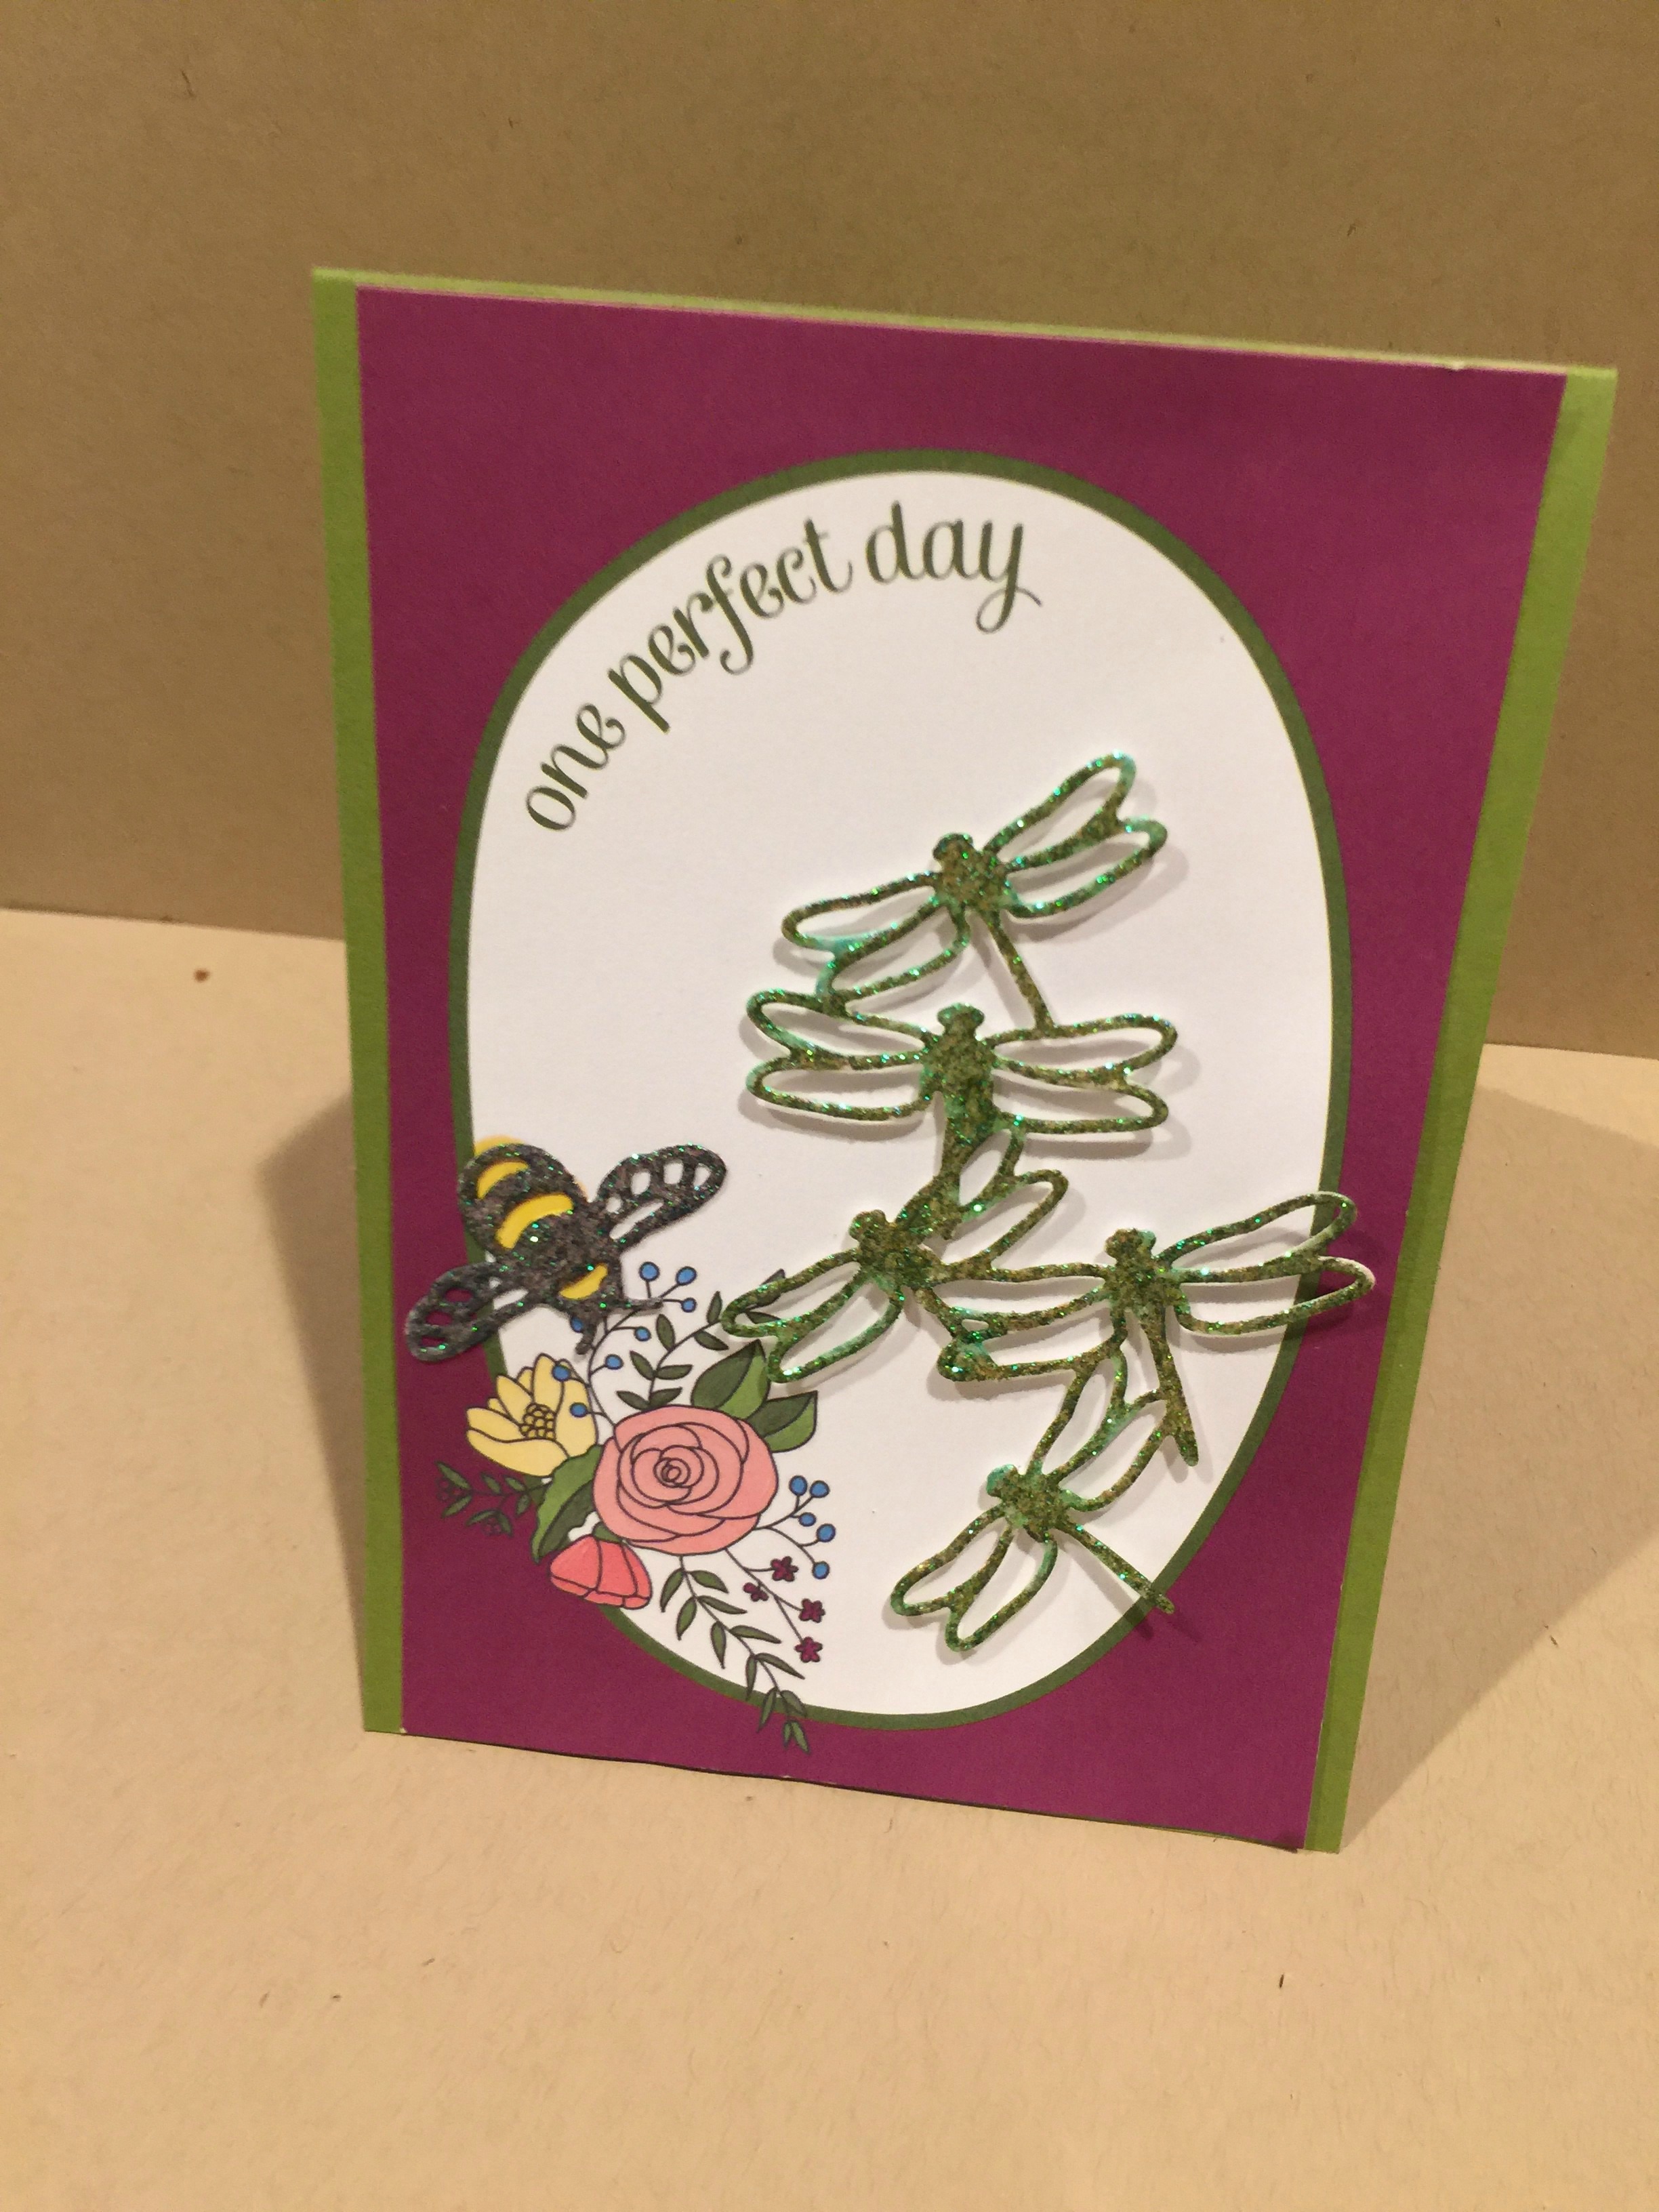
I chose to use a card layer from the Petal Passion Memories & More kit (144208). I added the dragonflies from the Detailed Dragonfly thinlits (142749),  I decided to use the paper from the Myths & Magic Glimmer Paper (145601 for the dragonflies). First I cut out the dragonflies out of the green glimmer paper. It looked pretty good. Then I noticed that there was some white glimmer paper in the pack. I tried to color it with ink from the Old Olive stamp pad. It wouldn’t cover it. Then I thought about the Stampin Blends. Sure enough the Old Olive Stampin Blend (144573) worked beautifully. Then I added the Bermuda Bay Stampin Blend (144579) on top of the Old Olive. Even better! So I learned something today. Stampin Blends works on anything! I glued them down with mini Stampin Demensionals (144108) putting one under the body of each dragonfly.

I then added the little bumble bee using a Basic Grey Stampin Up pen. Glued that down to the card with our Multipurpose Liquid Glue (110755). Then I colored the body of the bumble bee with Daffodil Delight (126944). The card base was Old Olive card stock cut at 12″ x 4 1/4″and folded at 6″. I made the card base a little longer because the top layer was 6″ x 4″.


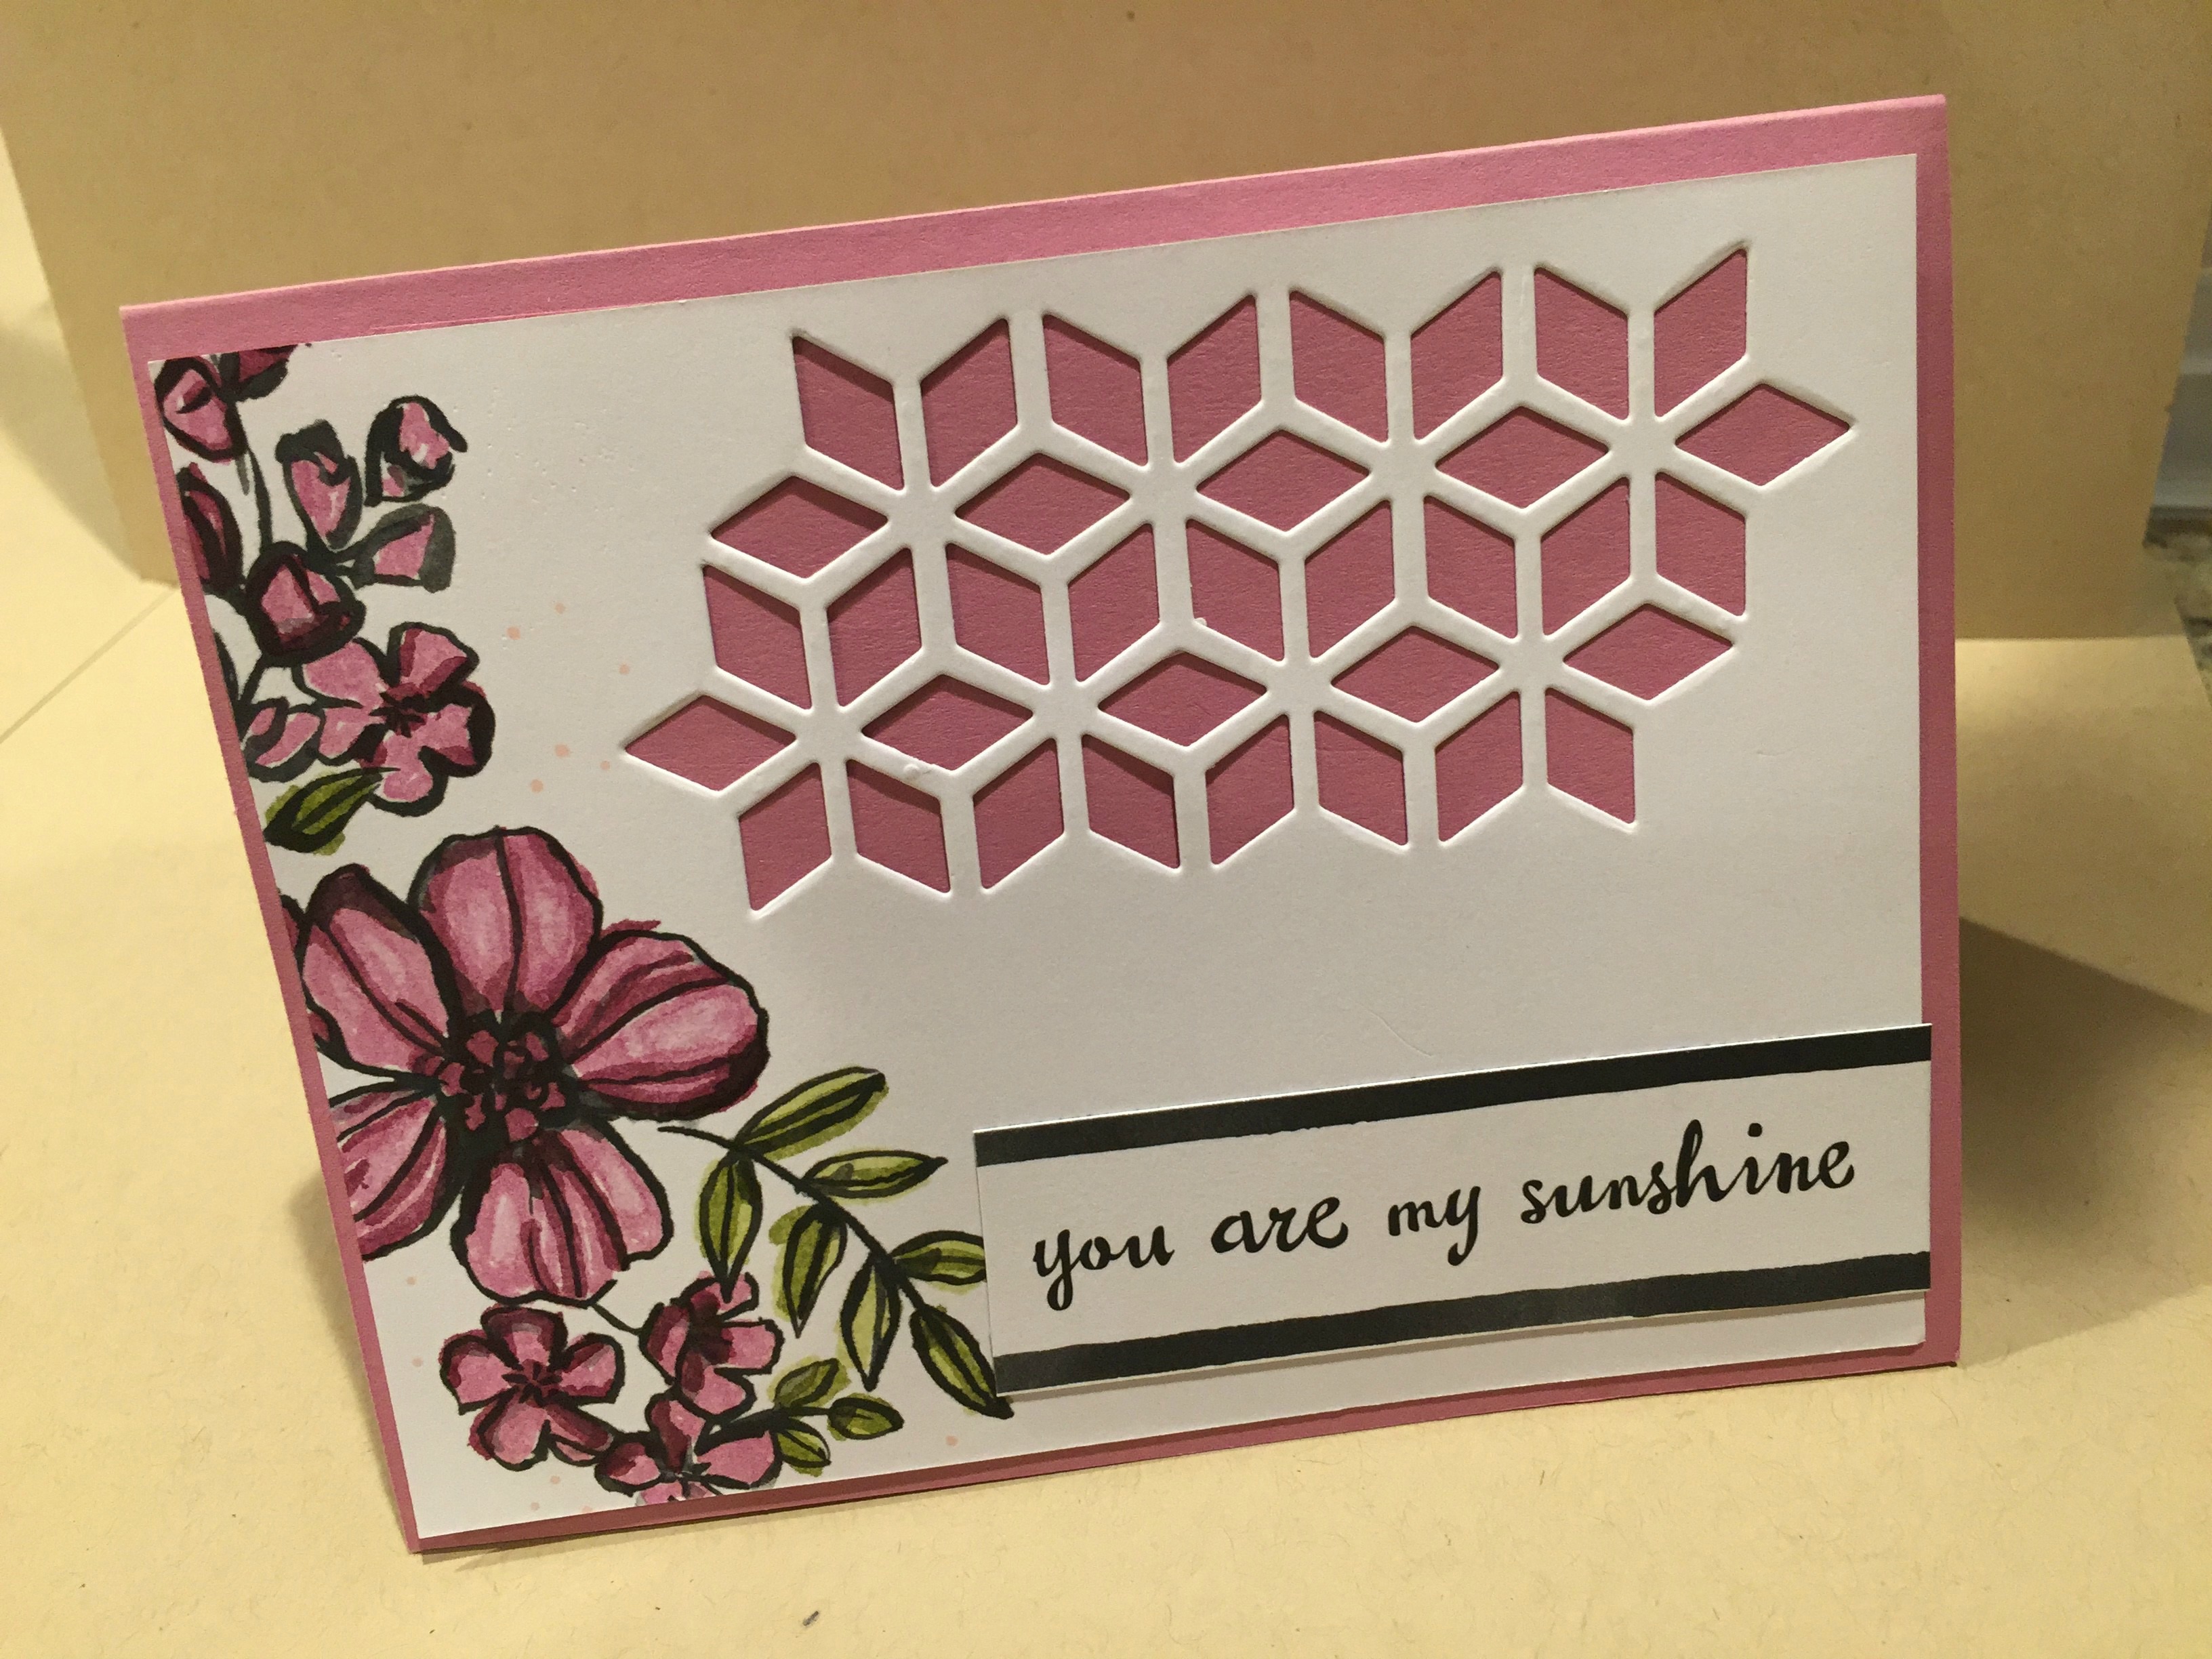
For my second card I used a card layer from the Petal Passions Memories & More Card Pack. I colored the flowers and leaves with Light and Dark Rich Razzleberry (144583 & 244584)and Light and Dark Old Olive Stampin Blends (144573 & 144574). I made the cutout using an Eclectic Layers Framelit (143774). My card base was Sweet Sugarplum card stock (141418) cut at 8 1/2″ x 5 1/2″ folded at 4 1/4″. The sentiment came from a card Layer from the Petal Passions Memories & More Card Pack.

You can find all the items that I used for the cards at www.stampingwithellen.stampinup.net or use the order icon on this website. www.StampingwithEllen.com.

That’s all I have for this blog. I hope you enjoyed it. My name is Ellen Downs and the rest of the blog contributors are listed below.

Sale-A-Bration Stamp of the Week

This is the Sale-A-Bration stamp of the week. It’s the Amazing You Stamp Set and the Celebrate You Thinlits. These are beautiful as well as versatile. Even better, the Amazing You Stamp Set is from the Sale-A- bration catalog which means it is FREE with a $50 purchase from the Occasions catalog or the Annual Catalog. The Celebrate You Thinlits are free as well with a $100 purchase. The thinlits can be used in so many ways on other projects.